

Before you begin
- You must have the Administrator or Supervisor role. These roles can see the whole team's shifts.
- Employees must have punched in on a calendar event, such as a job. A shift without an event does not appear in the event filter.
Steps
- In the menu, click Shifts.
- At the top of the page, click the List tab.
- Use the arrows on either side of the dates to choose the week you want to view. The Today button takes you back to the current week.
- In the Filter by event field, type the job site name and select the event from the list.
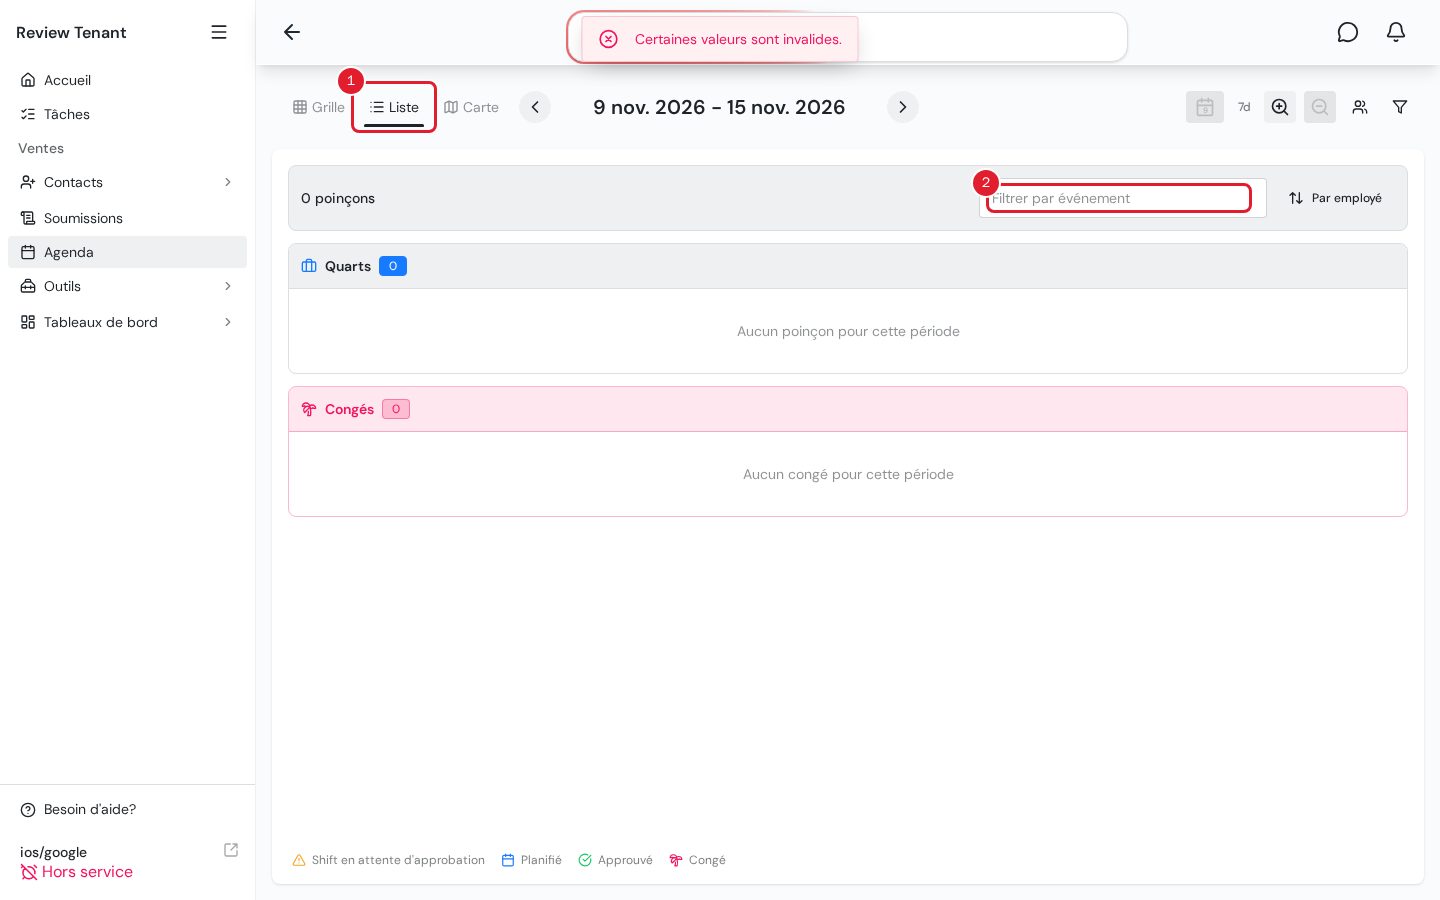
- Read the Shifts section. Each row shows the Employee, the Date, the punch-in and punch-out Time, the related Job and the shift's Status (Not approved, Approved, Ongoing or Cancelled).
- Rows are grouped By employee. To sort them by date and time, click this button. It changes to Chronological.
- To see the details for a day, click a row.
- To switch to another job site, click the small x next to the selected event's name, then choose another event.
Tip: To get each employee's total hours on a job, open the job and click the Finance tab. For each employee, the Recorded time column adds up the approved shifts linked to that job, minus unpaid breaks.
Important: Only hours from approved shifts count toward recorded time and exports. Approve the shifts before you calculate payroll or invoice the customer.
What's next
To send the hours to payroll or to the customer, export them. The file has a Job column and a subtotal of hours for each employee. For instructions, see Export employee hours to Excel or CSV.